> For the complete documentation index, see [llms.txt](https://docs.vagon.io/llms.txt). Markdown versions of documentation pages are available by appending `.md` to page URLs; this page is available as [Markdown](https://docs.vagon.io/teams/troubleshooting/audio-io-issues.md).

# Audio/Microphone Issues

All Vagon computers are preconfigured to support audio and microphone devices for both input and output.

However, configurations can become outdated over time, and usage-related changes may also lead to misconfigurations that affect audio and microphone support.

If you are experiencing audio or microphone issues inside your Vagon computer, follow the steps below in order.

## 1. Enable Audio and Microphone

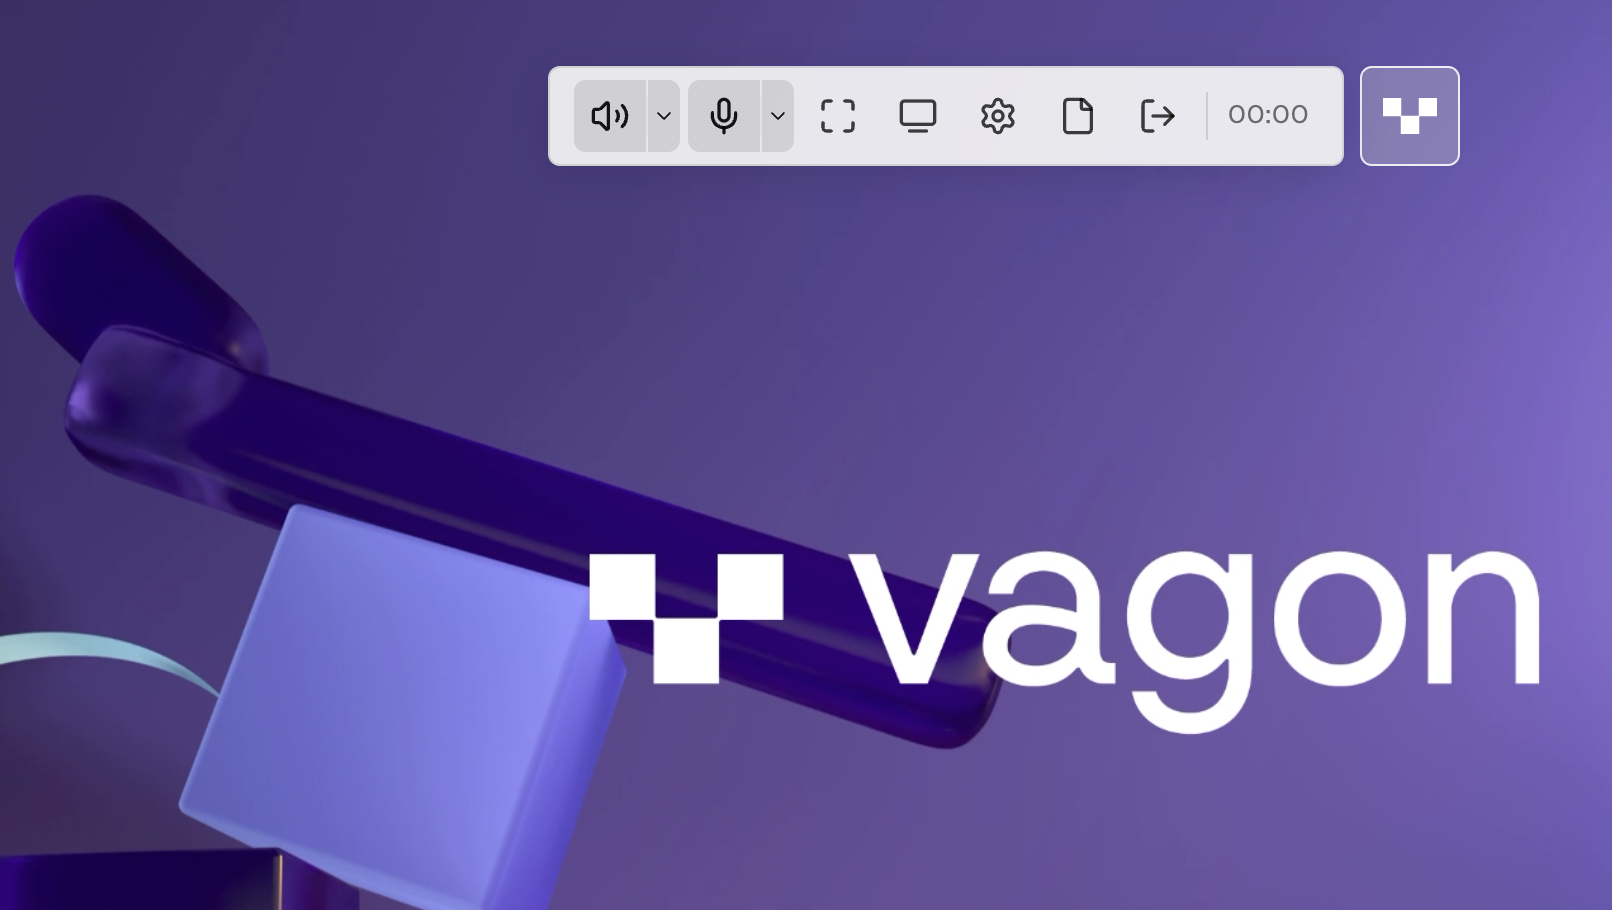
Open the Vagon dock menu — the Vagon icon at the top of your Vagon desktop — and make sure the audio and microphone toggles are enabled.

<figure><img src="/files/vzYu5HGzIvvlUfN5pXVU" alt=""><figcaption></figcaption></figure>

## 2. Check the Selected Audio and Microphone Devices

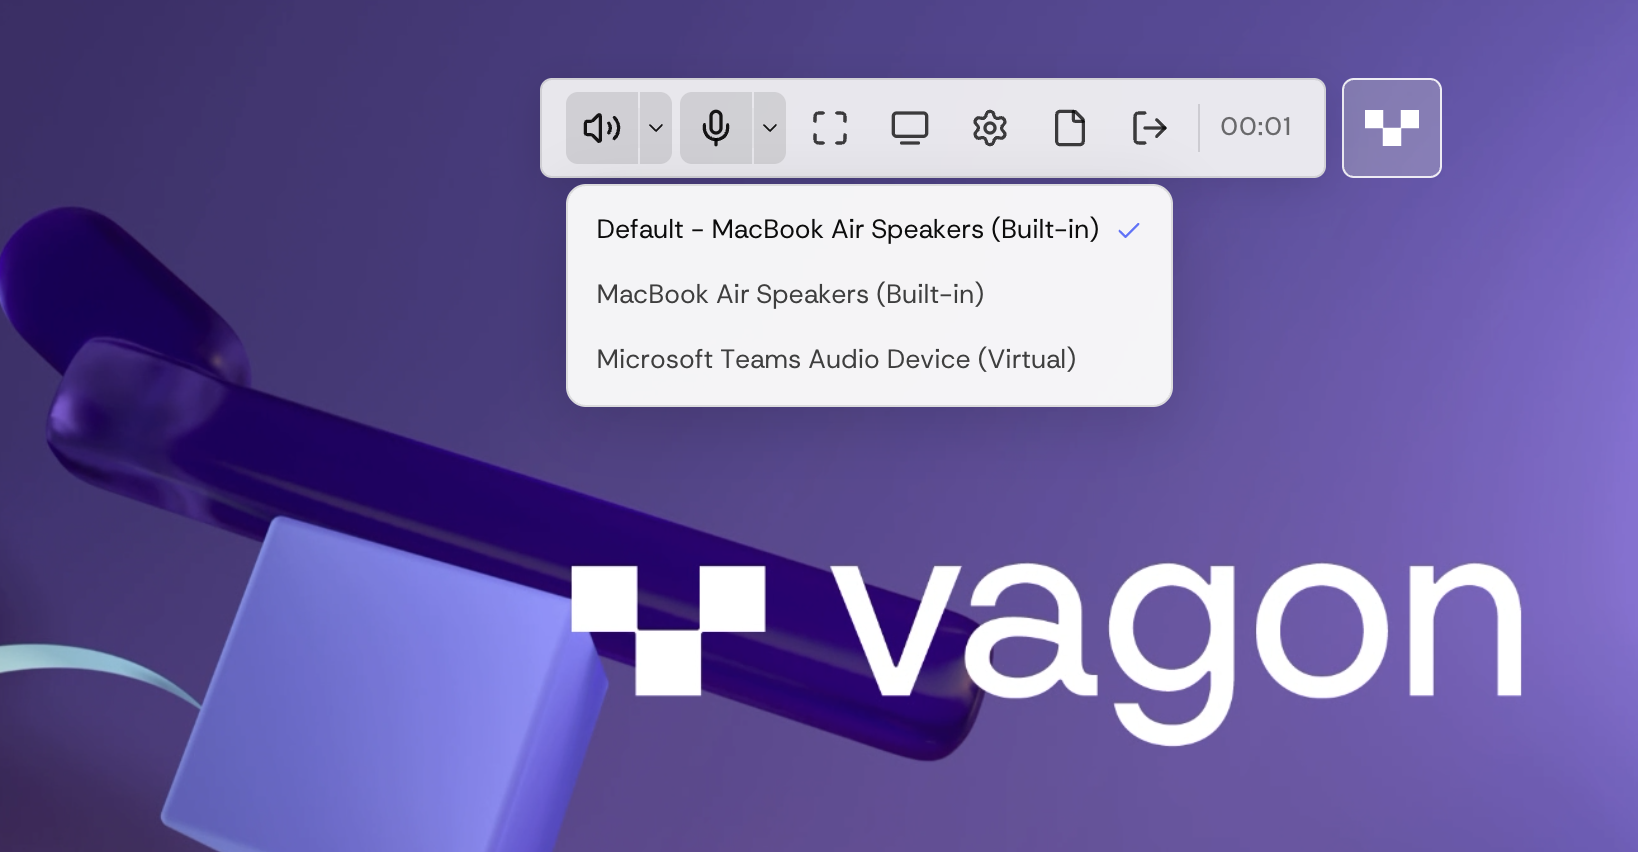
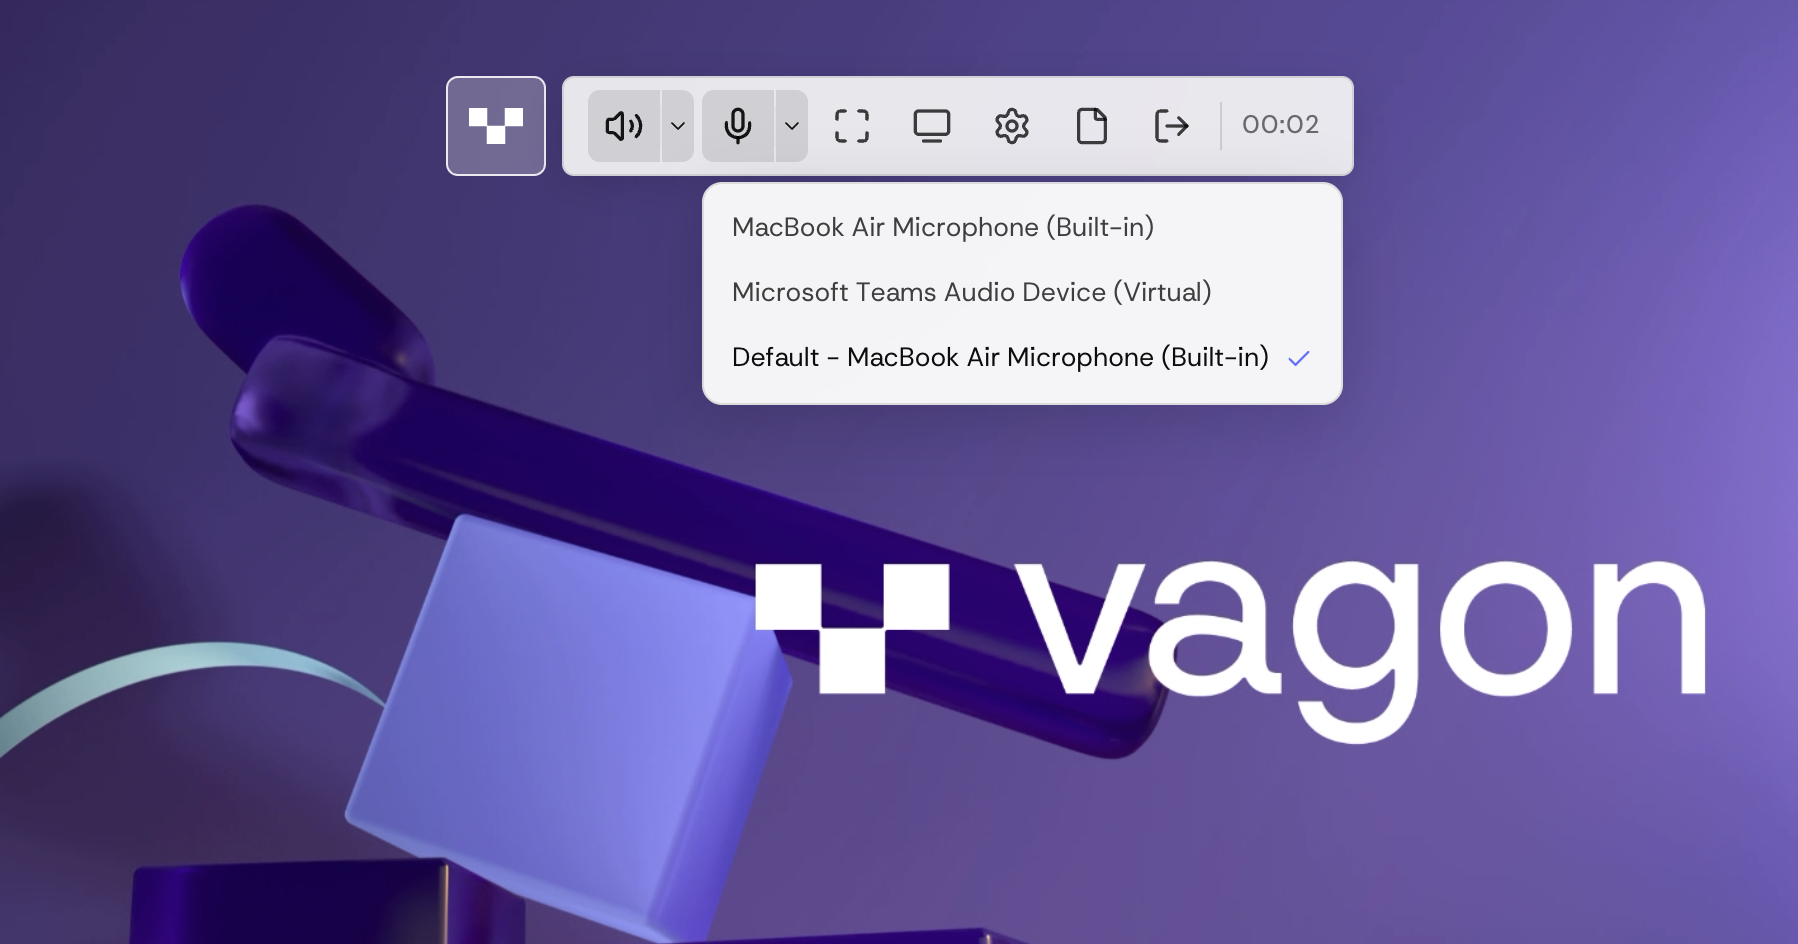
In the dock menu, check the selected Audio and Microphone devices, and make sure the options starting with "Default" are selected.

> Some external microphone & audio devices may be listed in different formats. If you are using additional external devices, try different combinations of the microphone and audio input options.

<figure><img src="/files/TwISF7SL9y8jZDVhU7fF" alt=""><figcaption></figcaption></figure>

<figure><img src="/files/PqBnT545qsq8S0AyVfYs" alt=""><figcaption></figcaption></figure>

If you can see the correct options here, move on to the next step; otherwise, continue with the steps below.

## 3. Check Browser Permissions

When connecting to your Vagon computer from a browser, you must grant audio and microphone permissions to use these devices.

When connecting through the Vagon Desktop Application, you must also grant microphone and audio permissions in your local device settings so that Vagon can access them.

If these permissions are not granted, the system cannot enable audio and microphone support.

## 4. Ensure that Voicemeeter Is Running

If audio and microphone are enabled and permissions are granted, but you still cannot use your microphone or hear sound, make sure Voicemeeter is running inside your Vagon computer with the correct configuration.

<figure><img src="/files/a5dS0dfxFwF53XDczWbe" alt=""><figcaption></figcaption></figure>

## 5. Verify Input and Output Device Selection

If all the steps above are correct but the issue persists, go to the **System > Sound** settings page to check the Windows device selections.

* **Output (Playback) device:** Speakers (Scream (WDM))
* **Input (Recording) device:** Voicemeeter Out B1

To set a device as default, select it from the list and click **Set Default**.

<figure><img src="/files/WlTbZ9tc9V9iARDRVMMw" alt=""><figcaption></figcaption></figure>

## 6. Check Application Level Configurations

By default, applications use the System Default audio and microphone configuration. However, some applications (e.g. Zoom, Slack) can override this and select different devices on their own.

When this happens, you will still hear system sounds and audio from websites, but you cannot hear the application's audio, or your voice is not delivered through it.

To configure application-specific Audio & Microphone selections, go to the application's settings, open its Audio and/or Microphone preferences, and make sure that **Scream (WDM) is selected as the Audio device** and **Voicemeeter Out B1 is selected as the Microphone device.**

<figure><img src="/files/dyhWFqKVxaXESqZLZzk3" alt=""><figcaption></figcaption></figure>

## 7. Advanced Configurations

Your issue should have been resolved by applying the configurations above. However, if you are still facing problems, the final thing to check is the audio and microphone configuration inside your Vagon computer.

### 7.1. Open the Sound Settings Window

Open the Control Panel and go to **Sound**. A window with the **Playback**, **Recording**, **Sounds**, and **Communications** tabs will appear.

The **Playback** tab must contain the **Speakers** — Scream (WDM) *(Default Device)* item, and this must be the selected device, regardless of any others in the list.

<figure><img src="/files/fxui8EAxt4xtCDfkApIb" alt=""><figcaption></figcaption></figure>

### 7.2. Check the Format of Playback Device

| Device                      | Default Format                    | Exclusive Mode         |
| --------------------------- | --------------------------------- | ---------------------- |
| **Speakers** (Scream (WDM)) | 32 bit, 48000 Hz (Studio Quality) | Both boxes **checked** |

<figure><img src="/files/1yA2FVHk4UALc3Poe2V3" alt=""><figcaption></figcaption></figure>

### 7.3. Check the Format of Recording Device

After checking the Playback devices, switch to the **Recording** tab. **Voicemeeter Out B1** — VB-Audio Voicemeeter VAIO *(Default Device)* must be listed there, and this must be the selected device, regardless of any others in the list.

Apply the same process (Properties → Advanced) to this device and match the values below:

| Device                                             | Default Format                               | Exclusive Mode         |
| -------------------------------------------------- | -------------------------------------------- | ---------------------- |
| **Voicemeeter Out B1** (VB-Audio Voicemeeter VAIO) | 2 channel, 24 bit, 48000 Hz (Studio Quality) | Both boxes **checked** |

<figure><img src="/files/ec4akbBEbuI5ovzFVtpT" alt=""><figcaption></figcaption></figure>

### 7.4. Verify Voicemeeter Settings

After checking the Windows audio device formats, open **Voicemeeter** and verify that its settings are correct. (Voicemeeter must be running; see **Step 4**.)

In the Voicemeeter interface, look at the **HARDWARE OUT** section in the top-right corner. Make sure the **A1** output is routed to the correct device:

* **A1** → **CABLE Input (VB-Audio Virtual Cable)**

Also check that the **Voicemeeter Input** device is active in the **VIRTUAL INPUT** section.

<figure><img src="/files/rTRbupE81vESVdssetSD" alt=""><figcaption></figcaption></figure>

### 7.5. Select the Correct Output Device in Voicemeeter

If the settings in Voicemeeter do not match the ones shown above, you need to select the correct device manually:

1. Click the **A1** button in the top-right corner.
2. In the **Select A1 Output Device** window that opens, make sure **WDM (WASAPI)** mode is selected on the left.
3. Select **CABLE Input — VB-Audio Virtual Cable** from the list (it should appear as **44100 Hz, 2 Ch**).

Once the device is selected, Voicemeeter will route the audio correctly, and your microphone/speaker issue should be resolved.

<figure><img src="/files/bLKozzau3V7jOY0N9A2i" alt=""><figcaption></figcaption></figure>