> For the complete documentation index, see [llms.txt](https://docs.vagon.io/llms.txt). Markdown versions of documentation pages are available by appending `.md` to page URLs; this page is available as [Markdown](https://docs.vagon.io/streams/custom-flows/visitor-authentication.md).
# Visitor Authentication
Require your visitors to sign in with Microsoft Entra, Auth0, or Google before they can access your Stream.
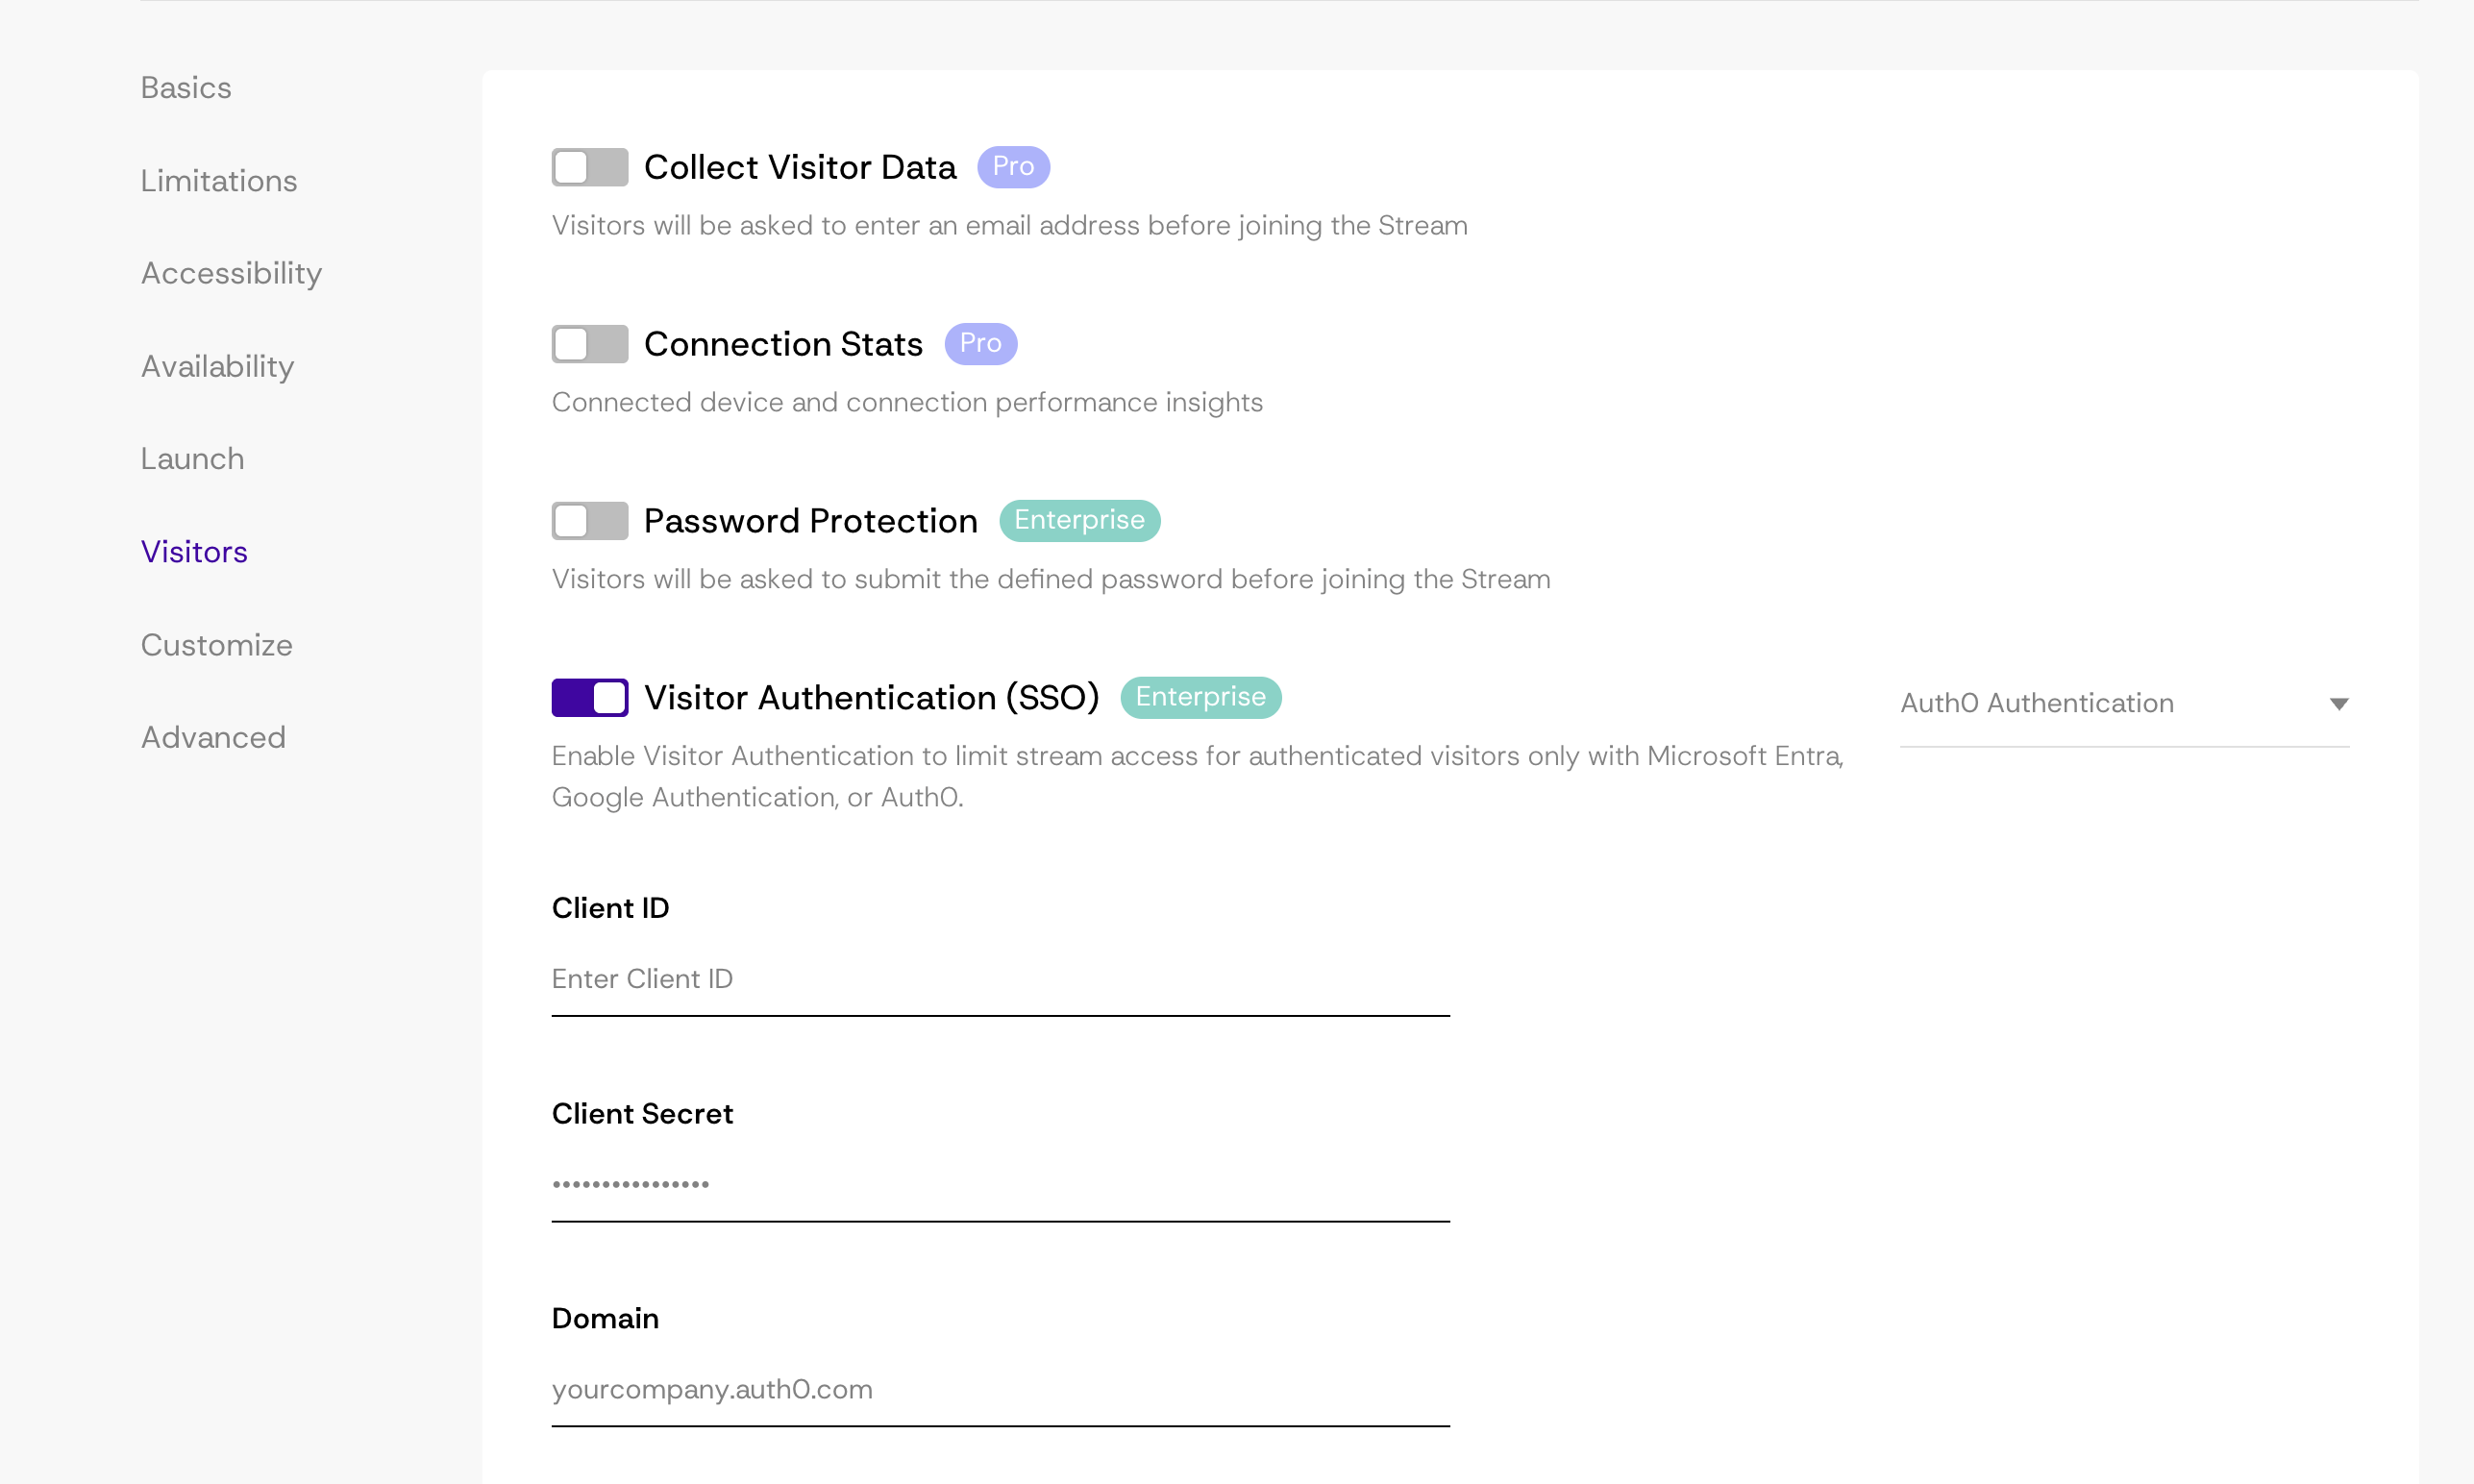
Visitor Authentication (SSO) lets you limit Stream access to authenticated visitors only. When enabled, visitors are redirected to your identity provider — **Microsoft Entra**, **Auth0**, or **Google** — and can only connect to the Stream after a successful login.
{% hint style="info" %}
Visitor Authentication is an **Enterprise** feature and can be configured on **Streams** only.
{% endhint %}
Visitor Authentication (SSO) section in the Visitors tab
## How It Works
1. A visitor opens your Stream URL.
2. Vagon redirects the visitor to your identity provider's login page.
3. After the visitor signs in, the provider redirects back to Vagon's **Redirect URI**.
4. Vagon validates the login and the Stream connects.
## Enabling Visitor Authentication
The setup has two sides: configuring an application on your identity provider, and entering its credentials in Vagon. The steps below are common to every provider; see [#provider-setup](#provider-setup) for the provider-specific details.
1. Open your **Streams Dashboard**, select the Stream, and go to **Configure → Visitors**.
2. Toggle **Visitor Authentication (SSO)** on.
3. Select your **SSO Provider** from the dropdown (Microsoft Entra, Auth0 Authentication, or Google OAuth).
4. **Copy the Redirect URI** shown in the panel and register it in your identity provider (see below). The Redirect URI is generated by Vagon and is specific to your Stream — always copy the exact value shown in the dashboard rather than typing it manually.
5. Fill in the provider credentials (**Client ID**, **Client Secret**, and any provider-specific field).
6. Click **Apply Changes**.
{% hint style="warning" %}
The **Redirect URI** must match *exactly* between Vagon and your identity provider. A mismatch is the most common cause of failed logins.
{% endhint %}
## Provider Setup
### Microsoft Entra
**In the Azure Portal (**[**portal.azure.com**](https://portal.azure.com)**):**
1. Go to **Microsoft Entra ID (Azure Active Directory) → App registrations → New registration** and register the app with any name.
2. From the app's **Overview**, copy the **Application (client) ID** and the **Directory (tenant) ID**.
3. Go to **Certificates & secrets → New client secret** and copy the secret **Value** (not the Secret ID).
4. Go to **Authentication → Add a platform → Web** and paste the **Redirect URI** copied from Vagon.
5. Go to **API permissions** and confirm `email`, `openid`, and `profile` are listed, then click **Grant admin consent for Default Directory**.
**In Vagon (Configure → Visitors → Visitor Authentication):**
1. Select provider **Microsoft Entra**.
2. Enter the **Client ID**, **Client Secret**, and **Tenant ID** from the steps above.
3. Confirm the **Redirect URI** matches the one you added in Azure, then click **Apply Changes**.
{% hint style="info" %}
**Adding visitors:** Users in your Entra directory can sign in automatically. To allow external users, go to **Microsoft Entra ID → Users → New user → Invite external user**, enter their email, and send the invite — they must accept it before they can sign in.
{% endhint %}
### Auth0
**In the Auth0 Dashboard:**
1. Go to **Applications → Create Application** and choose **Regular Web Application**.
2. Open the application's **Settings** tab and copy the **Client ID** and **Client Secret**.
3. Add the **Redirect URI** copied from Vagon to **Allowed Callback URLs**, then save changes.
4. Note your **Auth0 Domain** (e.g. `yourcompany.auth0.com`).
**In Vagon (Configure → Visitors → Visitor Authentication):**
1. Select provider **Auth0 Authentication**.
2. Enter the **Client ID**, **Client Secret**, and **Domain**. Vagon automatically derives the authorization and token endpoints from your domain.
3. Confirm the **Callback URL** matches the one you added in Auth0, then click **Apply Changes**.
### Google
**In the Google Cloud Console:**
1. Go to **APIs & Services → Credentials** and create an **OAuth 2.0 Client ID** of type **Web application**.
2. Add the **Redirect URI** copied from Vagon to **Authorized redirect URIs**.
3. Copy the **Client ID** and **Client Secret**.
**In Vagon (Configure → Visitors → Visitor Authentication):**
1. Select provider **Google OAuth**.
2. Enter the **Client ID** and **Client Secret**. No further fields are required — Google's endpoints are preset.
3. Confirm the **Redirect URI** matches the one you added in the Google Console, then click **Apply Changes**.
## Test the Stream
1. Open your Stream URL: `https://streams.vagon.io/streams/`.
2. You should be redirected to your provider's login page.
3. After authenticating, you are redirected back and the Stream connects.
## Troubleshooting
* **Redirect loop or "redirect URI mismatch" error** — The Redirect URI in your identity provider must match the one shown in Vagon character-for-character. Re-copy it from the dashboard.
* **Client Secret shows as dots** — The secret is write-only. Once saved, Vagon never displays it again and shows `••••••••••••••••` as a placeholder. Type a new value only if you want to replace it.